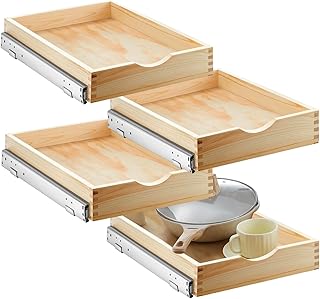
Pull-out pantry shelves bring stored food and cookware into view, reducing the need to reach behind rows of containers. Their performance, however, depends on more than basket style. The cabinet opening must be measured correctly, slides must carry the real load, and shelves need clearance from hinges, doors, face frames, and neighboring hardware.
This guide covers planning and installation principles for retrofitting an existing pantry cabinet. Follow the organizer and slide manufacturer’s instructions. Tall pull-out units, structural cabinet changes, and uncertain wall anchoring may require a cabinet installer.
Our top picks





As an Amazon Associate we earn from qualifying purchases at no extra cost to you.
Assign shelf contents with the small kitchen organization guide before calculating loads. For cabinet construction and hardware context, review the Architectural Woodwork Institute standards program, then follow the slide maker’s stated capacity and fastening schedule.
Choose the Type of Pull-Out
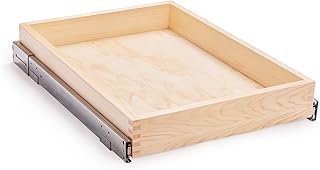
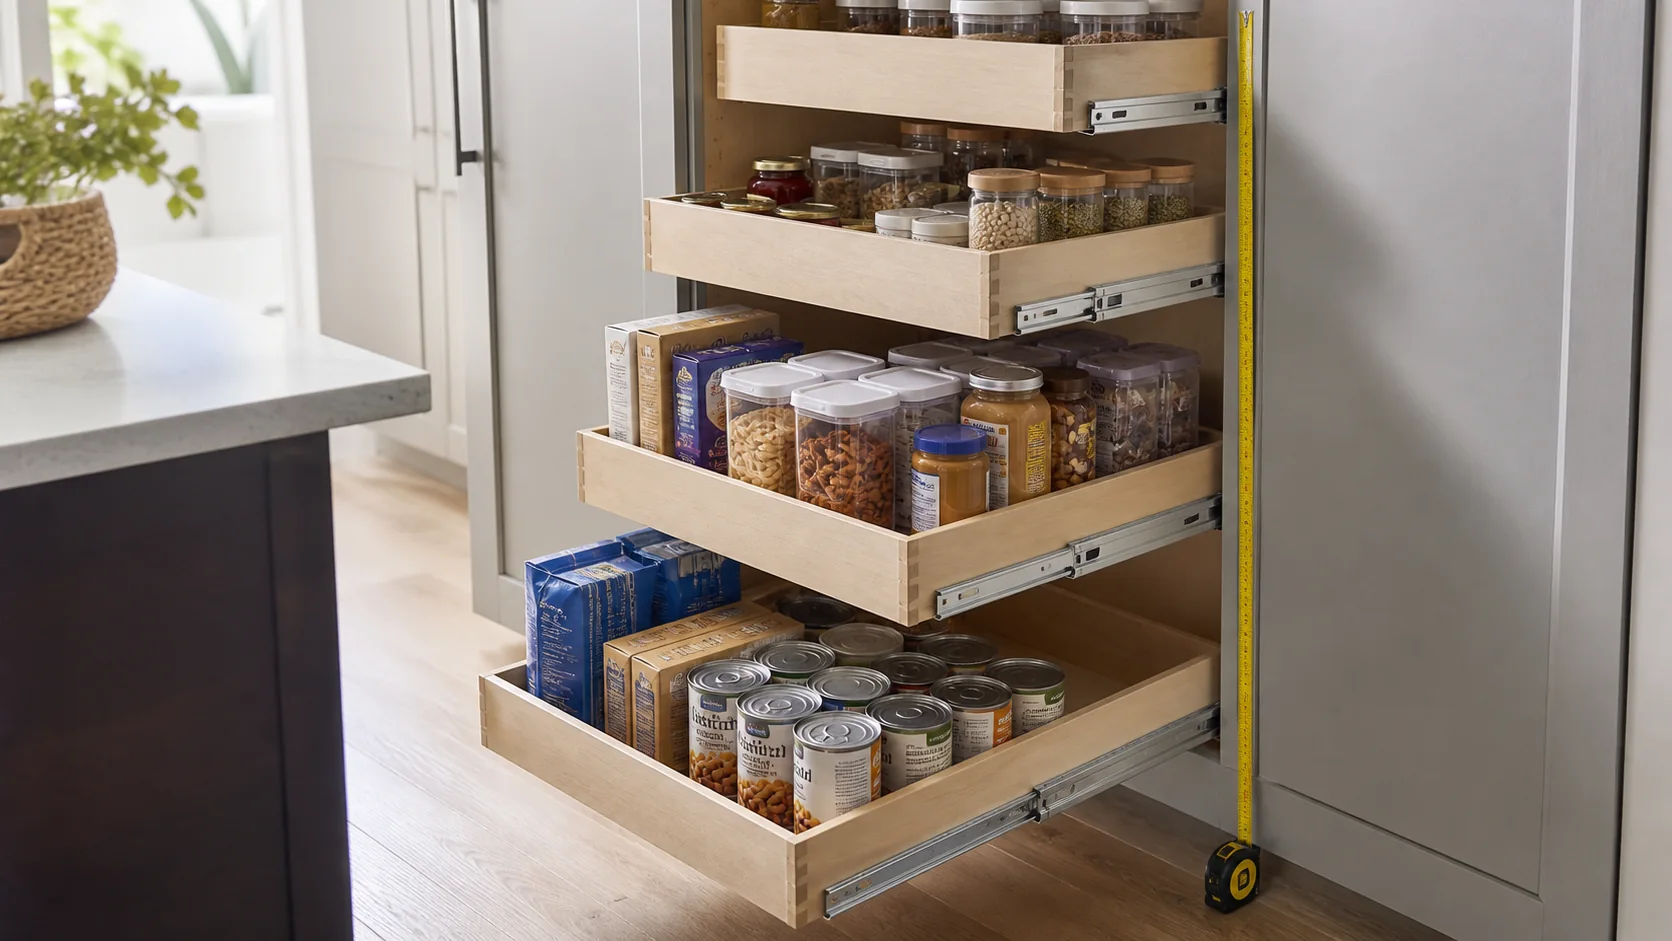
Individual roll-out trays mount inside a cabinet and move independently. They are flexible, relatively easy to retrofit, and useful for grouping categories. A full-height pantry pull-out moves several baskets as one tall unit. It provides access from both sides but places greater demands on hardware, cabinet strength, and alignment. Door-mounted systems attach storage to the cabinet door while interior shelves move separately.
Individual trays are usually the forgiving retrofit choice. A tall mechanism can hold more in a narrow cabinet, yet the combined load becomes substantial and may feel heavy. Compare access, adjustment, and serviceability instead of focusing solely on nominal capacity.
Measure the Usable Opening
Measure the clear opening width at the top, middle, and bottom, then use the smallest dimension. For a face-frame cabinet, measure between the frame edges, not the wider interior walls. Measure usable depth from the front obstruction to the back, accounting for door position, hinges, shelf supports, pipes, outlets, and protruding fasteners.
Record vertical space for each tray and include the height of slide hardware and shelf sides. The tallest item must pass through the front opening, not merely fit once inside. Frameless cabinets can still have hinge arms that intrude into the path.
Check whether the cabinet is square by comparing diagonal measurements and widths at several depths. Significant variation can cause slides to bind. Do not assume that a listed organizer width equals the required opening; read the product’s minimum and maximum opening specifications.
Estimate Realistic Loads
Slide ratings are commonly stated per pair under specified test conditions. The rating may assume a particular slide length, mounting orientation, fastener pattern, and load distribution. A shelf full of canned goods or small appliances can be far heavier than expected. Weigh representative contents and include the shelf itself.
Do not treat the published rating as a target. Repeated impacts, a user leaning on an open shelf, imperfect mounting, and a cabinet made from weak material can reduce reliability. Distribute heavy items low and evenly. Keep liquids upright and avoid concentrating weight at the front edge.
Full-extension slides expose the entire tray but apply leverage to the cabinet when open. Soft-close features improve feel but do not increase structural capacity. Verify that screws enter sound cabinet material or approved mounting cleats.
Plan Shelf Spacing and Contents
Inventory the pantry before setting heights. Create zones for cans, jars, boxes, baking supplies, snacks, and appliances. Adjustable spacing makes the system adaptable, but leaving every opening tall wastes capacity. A mix of shallow and tall zones usually works better.
Low shelf sides improve visibility; higher sides keep unstable packages contained. Wire baskets ventilate contents but may tip narrow containers. Solid trays catch spills and support small items but require cleaning. Non-slip liners should not interfere with slide movement or conceal moisture.
Leave finger room above containers and enough clearance to lift them out. Confirm that bottles cannot strike the shelf above during extension. Place frequently used items between knee and shoulder height; heavy appliances are safer lower down.
Prepare the Cabinet
Empty and clean the cabinet. Tighten loose hinges and confirm the cabinet is securely attached. Remove adjustable shelves and obsolete supports only when they are not structural. Repair water damage or delamination before installing organizers.
Some face-frame cabinets need spacers or mounting blocks so slides clear the frame and hinges. Blocks must be parallel, equal in thickness, and securely fastened. Use the hardware specified by the organizer maker; overly long screws can penetrate finished panels or adjacent cabinets.
Mark both slide lines from a common reference using a level or accurate square. Small differences can cause binding. Predrill where instructed to reduce splitting. Support the slide during fastening rather than allowing it to sag.
Install and Adjust Safely
Begin with the lowest tray so upper hardware does not obstruct access. Install both slides, attach the tray, and cycle it empty. It should move without scraping and remain aligned when fully extended. Adjust before adding the next level.
Load the tray gradually with representative weight, then test again. Watch for cabinet flex, screw movement, excessive sag, or contact with the door. Stop and reinforce according to manufacturer guidance if anything shifts. Never climb, sit, or allow children to hang on an open pull-out.
For a tall unit, follow the exact sequence for top and bottom guides. The cabinet must be plumb and anchored against tipping. A tall pantry that is not secured can become unstable when its loaded mechanism is extended.
Maintain the System
Periodically empty each tray, inspect fasteners, and clean tracks as directed. Do not lubricate slides unless the manufacturer recommends a compatible product; some lubricants attract dust or damage plastic parts. Address grinding, looseness, or uneven closing early.
Keep contents within the rated load and redistribute items if the front becomes heavy. If a leak or spill occurs, remove liners and dry the cabinet fully. Replacement slides should match mounting style, length, load rating, and hole pattern.
Common Planning Mistakes to Avoid
One frequent mistake is measuring the cabinet body but ignoring the narrower face-frame opening. Another is choosing shelves before checking hinge intrusion. A third is planning around empty-package weights rather than a tray filled with glass jars, cans, or appliances. Each error can turn a nominally compatible organizer into a binding or overloaded installation.
Avoid filling every vertical inch. Contents need room to lift out, and adjustable shelves need clearance for future package changes. Do not install a tray so low that its front hits the hinge, or so high that the user must pull a heavy load above shoulder level. Consider who uses the pantry, including children and anyone with limited reach or grip strength.
Finally, do not assume soft-close hardware corrects poor alignment. It controls the final part of travel but cannot compensate for a twisted cabinet, unequal spacers, or weak fasteners. If the cabinet floor bows, the face frame is loose, or the unit is not anchored, correct those conditions first. A reliable pull-out is a cabinet-and-hardware system, not merely a shelf added to an empty box.
Frequently Asked Questions
Can pull-out shelves be added to any pantry cabinet?
Many can be retrofitted, but narrow openings, intrusive hinges, weak panels, pipes, or an out-of-square cabinet may limit options. Measure the clear opening and inspect construction first.
How much weight can a pantry pull-out hold?
Use the organizer and slide manufacturer’s rating for the exact length and mounting method. Include the tray weight and maintain a safety margin rather than loading to the maximum.
Are full-extension slides worth it?
They improve access to the back of a deep cabinet. They also create more leverage when open, so secure mounting and realistic loading are important.
Why does a pull-out shelf bind?
Common causes include slides that are not parallel, an uneven opening, incorrect spacing, loose fasteners, debris, or excessive load. Diagnose the cause instead of forcing the shelf.
Should heavy items go on the top or bottom?
Place them low to reduce lifting risk and improve stability, while staying within each shelf’s rating.