Key takeaways
- Confirm finished wall-to-wall width after tile and baseboard.
- Map every door and drawer in its fully open position.
- Place faucet holes from the exact basin template and spout-reach drawing.
- Keep shutoffs and the trap reachable without removing structural cabinet parts.
- Coordinate mirror, sconces, receptacles, and backsplash height on one elevation.
A bathroom fixture list is useful only when it follows the order in which decisions become expensive to change. A towel hook can wait until the walls are painted; a concealed shower valve cannot. This checklist organizes purchases by project milestone, then connects each visible item to its less-visible requirements: rough-in position, blocking, electrical supply, waterproofing, service access, and replacement parts.
Affiliate disclosure: Garay Kitchens & Baths may earn a commission from qualifying purchases made through links on this page, at no additional cost to you. Product inclusion is based on fit, documentation, serviceability, and practical use.
Our top picks


As an Amazon Associate we earn from qualifying purchases at no extra cost to you.
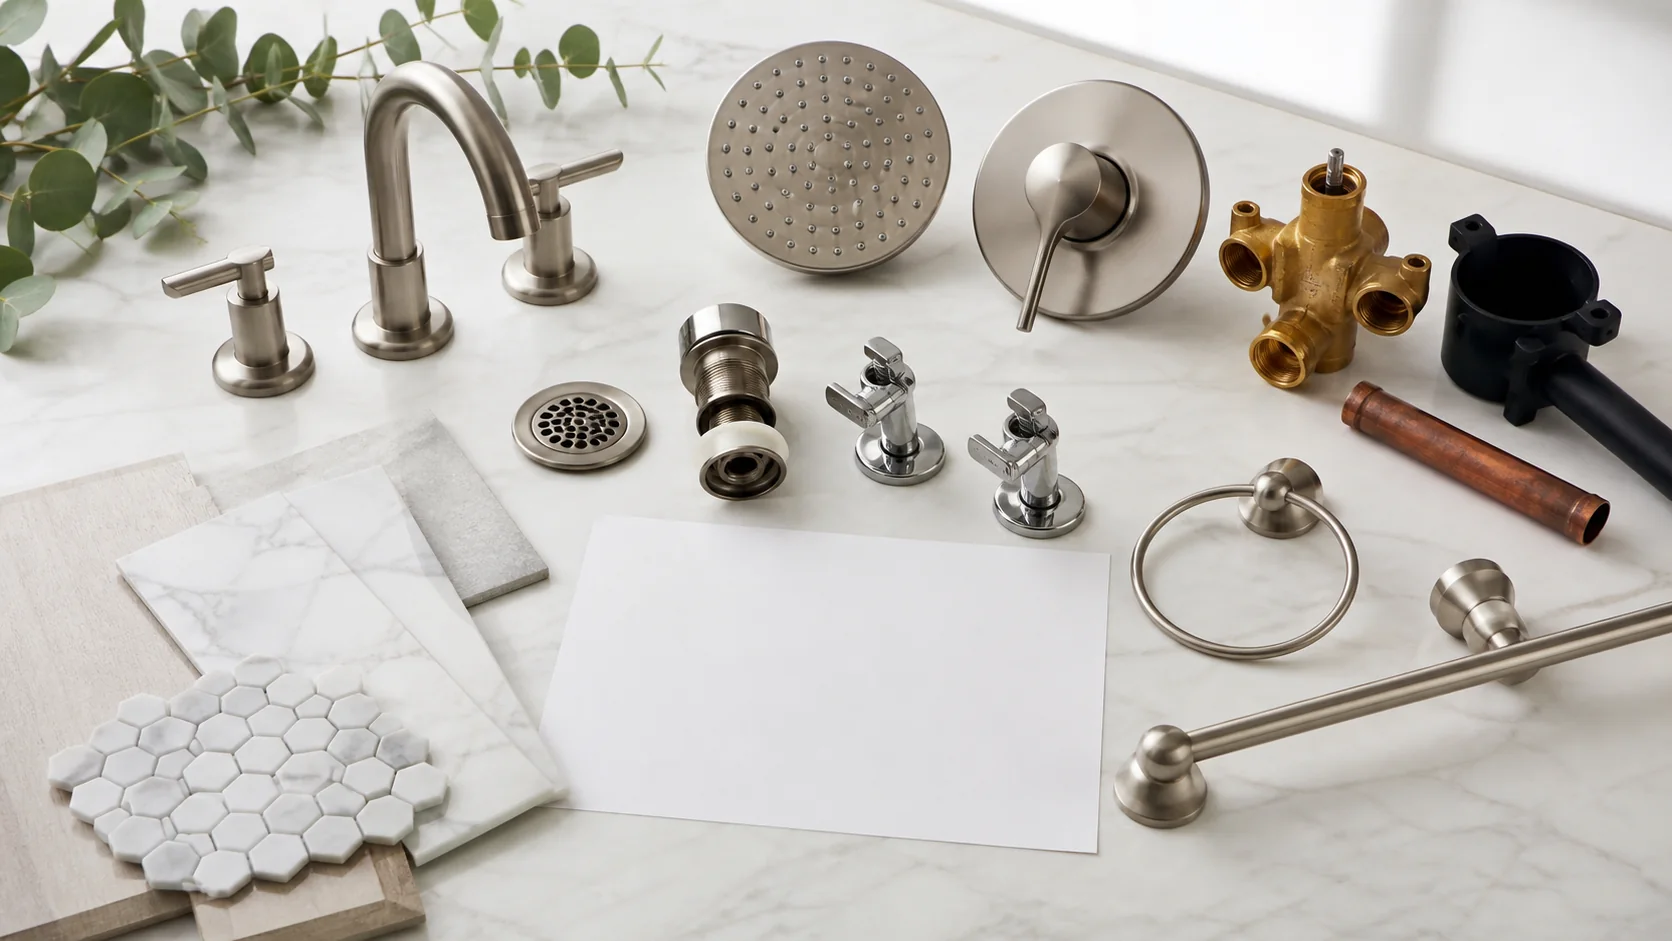
Build a Fixture Schedule Before You Shop
Create one row for every item that penetrates a wall, floor, countertop, or cabinet. Record the exact model, finish code, dimensions, connection size, required valve or drain, lead time, return deadline, and responsible installer. Attach the manufacturer’s current specification sheet rather than copying dimensions from a retailer summary. This schedule becomes the common reference for the homeowner, designer, plumber, electrician, tile installer, and cabinet supplier.
Mark each row as “must select before rough-in,” “must arrive before close-in,” or “can select after finishes.” That distinction protects the schedule. It also discourages ordering decorative accessories early while a critical valve, tub, or vanity remains undecided.
Phase 1: Decisions Required Before Demolition
| Fixture group | Confirm now | Why it affects construction |
|---|---|---|
| Toilet | Floor or wall outlet, rough-in, bowl shape, supply position | Determines drain location and usable clearance |
| Vanity and sink | Overall size, sink count, basin type, drawer layout | Controls drain, supplies, lighting, mirror, and blocking |
| Faucet | Deck- or wall-mount, hole pattern, spout reach | Wall-mounted models require precise concealed placement |
| Shower or tub | Footprint, drain, valve system, outlets, glass location | Changes framing, waterproofing, and plumbing rough-in |
| Ventilation | Fan capacity, duct route, control type | Needs power and a compliant exterior discharge path |
Photograph the existing room before work starts. Measure the toilet centerline, drain and supply locations, wall lengths at several heights, ceiling height, door swing, window trim, and the projection of adjacent fixtures. Note which shutoff controls each branch. If the house has an older valve or deteriorated piping, include contingency money and time rather than assuming every connection can be reused.
Confirm permits and local inspection requirements with the authority having jurisdiction. The International Code Council publishes model codes, but local adoption and amendments control the project. The ICC overview of I-Codes is useful context, not a substitute for the local building department.
Phase 2: The Concealed-Fixture Checklist
Order the shower valve body and compatible trim as a system. A trim kit that looks similar is not necessarily compatible with a valve already inside the wall. Save the installation instructions and verify acceptable wall thickness, valve depth, hot-side orientation, outlet configuration, and test-cap procedure. If a handheld shower is planned, identify the diverter, supply elbow, hose length, and mounting point too.
Decide where solid blocking is needed before drywall or backer board closes the cavity. Common locations include a floating vanity, medicine cabinet, glass panel, shower seat, handheld slide bar, and grab bars. Blocking for future accessibility improvements is inexpensive while framing is exposed. The U.S. Access Board bathing-room guide explains accessible layouts; residential obligations vary, but its reach and clearance concepts can improve planning.
Check the tub or shower manufacturer’s support and flange details against the waterproofing plan. Waterproofing is an assembly, not a bead of caulk at the end. Penetrations, niches, curbs, benches, and transitions must follow the selected system’s instructions. Do not mix components from different systems unless their manufacturers explicitly approve the combination.
Phase 3: Vanity, Countertop, and Sink Coordination
Review the vanity as a four-part assembly: cabinet, top, basin, and plumbing. A centered drain may collide with a drawer or shelf. A vessel basin raises the working rim and can make a standard-height cabinet uncomfortable. An undermount sink needs enough stone around the cutout for the faucet, backsplash, and clips. Use the method in our bathroom vanity size guide before approving the cabinet order.
- Confirm finished wall-to-wall width after tile and baseboard.
- Map every door and drawer in its fully open position.
- Place faucet holes from the exact basin template and spout-reach drawing.
- Keep shutoffs and the trap reachable without removing structural cabinet parts.
- Coordinate mirror, sconces, receptacles, and backsplash height on one elevation.
Inspect the countertop template before fabrication. Verify overhangs, exposed-edge finish, faucet-hole count, sink reveal, and wall irregularities. If natural stone is used, ask what sealer and cleaning routine the fabricator recommends. Keep those instructions with the fixture schedule.
Phase 4: Visible Trim and Accessories
After the major fixtures are locked, choose finish families. Compare real samples in the bathroom under daylight and electric light. “Brushed nickel,” “brushed gold,” and “matte black” describe broad appearances rather than cross-brand standards. Mixing finishes can look intentional when each is repeated and assigned a role; an almost-match often looks accidental. Our chrome versus brushed nickel comparison provides a maintenance-focused decision method.
Plan towel bars, rings, robe hooks, toilet-paper holders, shelves, and mirrors with the people who will use them. Tape paper outlines to the wall to test reach and door conflicts. Before drilling tile, compare each fastener location with photographs of concealed pipes, wires, and blocking.
Phase 5: Delivery and Preinstallation Inspection
Do not store sealed boxes until installation day. Open each shipment inside the return window and compare labels with the schedule. Check ceramic pieces for cracks, metal trim for finish damage, glass for edge defects, and kits for missing fasteners. Keep protective film in place where the instructions permit, but confirm the finish underneath is correct.
Place related parts together in labeled bins: valve and trim; sink and drain; toilet and seat; shower outlets and diverter. Record serial numbers and photograph package labels. This prevents a small adapter or gasket from disappearing during a multi-week remodel.
Phase 6: Testing Before Sign-Off
- Operate every shutoff and confirm hot and cold orientation.
- Run faucets at full and partial flow while inspecting supplies, drains, and overflow paths.
- Cycle shower functions and verify comfortable maximum temperature using the valve instructions.
- Flush the toilet repeatedly and inspect the supply, tank connection, base, and surrounding floor.
- Test the exhaust fan and controls; confirm air is discharged to the intended exterior termination.
- Open all cabinet doors and drawers while water is running to identify hose or trap contact.
- Review caulk and sealant only after required cure times have elapsed.
Use dry tissue beneath connections to reveal a slow seep that fingers may miss. Recheck after several normal-use cycles and again after a few days. WaterSense-labeled products can help reduce water use; verify the exact model in the EPA WaterSense product search rather than relying solely on packaging language.
Frequently Asked Questions
Which bathroom fixtures should be purchased first?
Buy or firmly specify the items that dictate rough-ins and framing first: tub or shower base, concealed valves, wall-mounted faucet, toilet type, vanity, sinks, and medicine cabinet. Accessories that mount on finished walls can usually wait.
Should all bathroom fixtures come from one brand?
No. Keeping a valve and its trim within an approved system is essential, but the sink faucet, toilet, vanity, and accessories can be selected independently. Compare physical finish samples if a close color match matters.
How much extra time should a fixture order allow?
Use the seller’s current lead time plus time for inspection, replacement, and project delays. Custom finishes and large fragile items deserve more margin. Avoid demolition until critical-path products are on site and verified.
What documents should remain with the finished bathroom?
Keep model and finish codes, receipts, warranties, parts diagrams, care instructions, waterproofing information, open-wall photographs, and installer contacts. Store a digital copy where a future owner or service technician can retrieve it.
Final Walk-Through
A reliable bathroom fixture checklist is a coordination tool, not merely a shopping list. Select concealed systems first, verify every rough-in against an exact drawing, inspect deliveries early, and test the completed room methodically. That process catches conflicts when they are still inexpensive and leaves a clear maintenance record after the remodel is complete.