A vanity size is not simply the number printed on a cabinet box. The usable footprint includes the countertop overhang, open drawers, faucet reach, plumbing, standing space, mirror, lighting, and nearby doors. This guide turns those constraints into a measured room map so you can reject poor fits before ordering.
Affiliate disclosure: Garay Kitchens & Baths may receive a commission from qualifying purchases through links on this page. That does not change the price paid or the measurement standards used here.
Our top picks

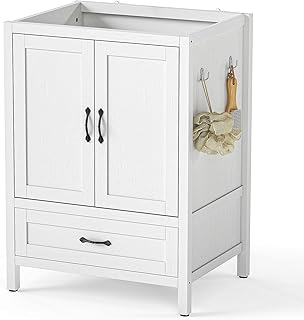
 Yaheetech 24" Bathroom Vanity with Sink
- Recommended Uses For Product: Toiletry
- Additional Features: Durable
- Room Type: Bathroom
Integrated ceramic basin includes a built-in drain hole
Floor-protective pads guard against scratches when moving it
Smooth-sliding drawer rails ease everyday access
Ceramic basin and shelf cap out around 66 pounds load
24-inch width suits small spaces, not larger double vanities



As an Amazon Associate we earn from qualifying purchases at no extra cost to you.
Make a Four-Layer Bathroom Map
Draw the room on graph paper and create four overlays: fixed construction, movement, plumbing, and user reach. Fixed construction includes finished walls, tile, baseboards, windows, toilet, shower curb, and radiators. Movement shows the complete swing of the entry door, shower door, cabinet fronts, and drawers. Plumbing marks the centerlines and heights of the drain and supplies. User reach captures standing position, counter use, electrical controls, mirror view, and storage access.
Measure wall width near the floor, at counter level, and above the backsplash. Older rooms are rarely perfectly square. Record the smallest dimension and identify trim that will remain. A nominal 36-inch opening is not evidence that a 36-inch vanity will slide into place.
Understand the Five Dimensions That Govern Fit
| Dimension | What to include | Common oversight |
|---|---|---|
| Width | Cabinet, top overhang, side filler | Wall or door casing narrows the opening |
| Depth | Top, handles, backsplash projection | Drawer front intrudes into circulation |
| Height | Cabinet, top, sink rim | Vessel sink raises the working surface |
| Open radius | Door swing and drawer extension | Drawer collides with toilet or entry door |
| Service zone | Trap, shutoffs, supply hoses | Internal drawer blocks plumbing access |
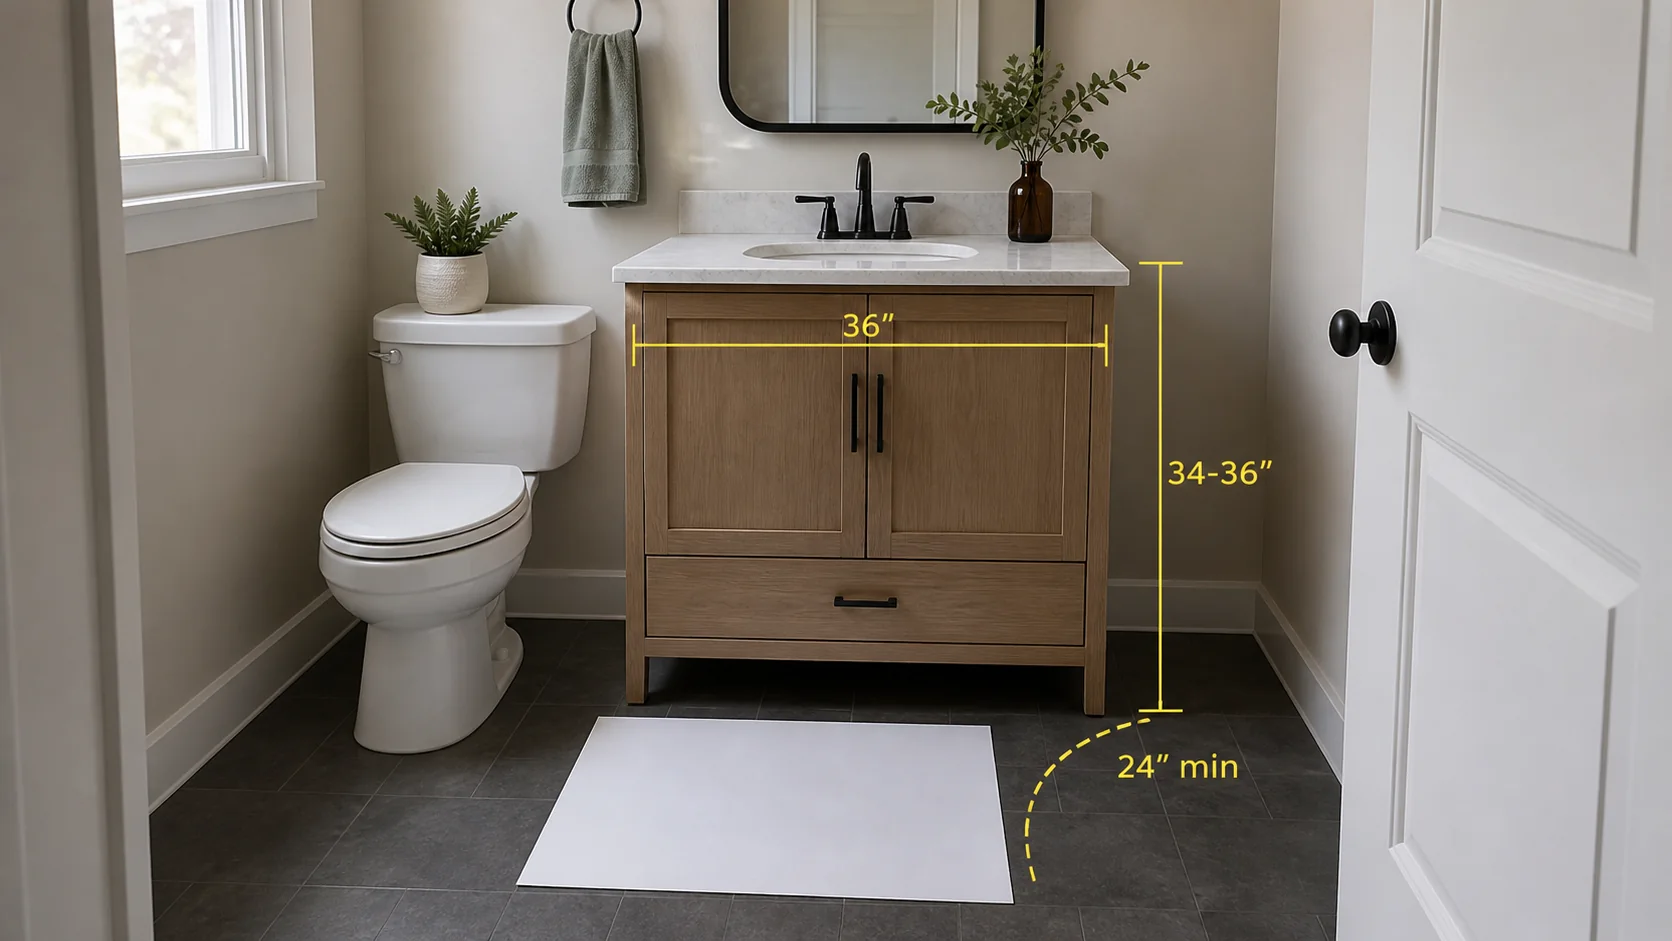
Common stock widths include 24, 30, 36, 48, 60, and 72 inches, but actual cabinet and countertop dimensions vary. Depth is often around 21 inches for a full-size vanity, while shallow models may be closer to 16–18 inches. Treat these as shopping filters only. The exact product drawing and the room measurement decide fit.
Choose Width by Function, Not Wall Capacity
A compact powder room may benefit from a 18- to 24-inch cabinet, especially when entry clearance matters more than storage. A 30- or 36-inch single vanity usually provides more useful counter area and cabinet organization. Wider formats can add drawers or two sinks, but a second basin consumes counter and storage space. In many shared bathrooms, one generous sink with two distinct storage zones works better than two cramped basins.
Leave installation tolerance beside walls. A filler strip can absorb an out-of-square corner and prevent drawers from rubbing the wall. Freestanding furniture-style models need intentional breathing room that can be cleaned; a narrow uncleanable slot is worse than either a fitted or clearly freestanding installation.
Set Counter Height for the Actual Users
Traditional vanities are often lower than modern “comfort-height” models, but there is no universally comfortable number. Mock up the finished counter height with a box or taped line. Include the sink geometry: an undermount basin keeps the rim near the counter, while a vessel sink can add several inches. Test handwashing and face washing without forcing the shoulders upward or requiring a deep bend.
Children, wheelchair users, and multigenerational households may need a different approach. Knee space, reach ranges, faucet controls, and protected pipes matter in accessible layouts. The U.S. Access Board bathing-room guidance offers useful design references, although local residential requirements must be verified separately.
Align the Sink, Faucet, and Plumbing
Request the internal cabinet drawing, not only the exterior dimensions. Modern drawer stacks may leave a narrow channel for the trap. Plot the drain and shutoffs inside that drawing. Moving a drain or modifying drawers changes the project scope; cutting a structural rail to make plumbing fit can weaken the cabinet.
Check the sink cutout, faucet-hole pattern, backsplash, and spout reach together. The stream should land comfortably within the basin rather than striking the drain or rear wall. A wall-mounted faucet requires precise rough-in height and projection based on the finished basin. Coordinate it before the wall closes.
Test Doors, Drawers, and Daily Circulation
Tape the countertop outline onto the floor. Add another taped rectangle for a fully extended drawer, then swing the room door and shower enclosure. Stand where a person would dry off, open storage, and clean the floor. This physical rehearsal reveals conflicts that a single wall measurement cannot.
Account for hardware projection and soft-close mechanisms. A drawer may technically open yet stop before its organizer clears the counter. If two people use the room simultaneously, simulate both positions. Preserve access to the toilet and an unobstructed exit path.
Coordinate the Vertical Wall Above the Vanity
The backsplash, mirror, medicine cabinet, sconces, receptacles, and ceiling slope share one elevation. Draw each item to scale. Centering the mirror on the cabinet may not center it on the sink, and centering lights on the wall may look wrong above an offset basin. Decide which axis controls the composition.
Check medicine-cabinet recesses for pipes, wiring, studs, and vent stacks. Confirm light-fixture dimensions and electrical clearances with the applicable local requirements. For the wider remodel sequence, use our bathroom fixture checklist.
Also inspect how the vanity meets the finished floor. A cabinet ordered before flooring thickness is known can end up at an unintended height, while legs positioned over uneven tile may need manufacturer-approved leveling. Wall-to-wall installations require a plan for side splashes and scribing. Freestanding models need enough clearance behind the legs for baseboard or supply escutcheons. Add each of these finish layers to the elevation instead of treating the empty room as the final envelope.
A Room-Based Selection Method
- Measure the finished opening at three heights and use the narrowest value.
- Map fixed obstacles and every moving component.
- Choose a target counter height using the sink type and users.
- Overlay exact drain and supply locations on the cabinet interior.
- Verify sink cutout, faucet pattern, and spout reach.
- Draw the mirror, lighting, backsplash, and outlets above it.
- Review the manufacturer’s installation and anchoring instructions.
- Confirm local code and professional scope before ordering.
Frequently Asked Questions
How much space should remain beside a bathroom vanity?
There is no single decorative gap that suits every layout. Allow enough installation tolerance for imperfect walls, enough hinge clearance for doors and drawers, and a gap that can actually be cleaned. Verify any required fixture clearances locally.
Can a double vanity fit on a 60-inch wall?
Many 60-inch products contain two sinks, but suitability depends on basin size, drawer arrangement, plumbing, and desired counter area. Compare a double-basin drawing with a single-basin alternative before assuming two sinks provide better use.
Should the vanity be centered on the wall?
Not automatically. Door clearance, toilet position, existing drains, and user circulation can justify an offset layout. An intentional offset with a coordinated mirror often functions better than geometric centering.
What changes when choosing a floating vanity?
Wall structure, fastener locations, mounting-rail clearance, concealed plumbing, and finished height become critical. Confirm blocking and the exact mounting method before closing the wall. Never rely on drywall alone to support a heavy cabinet and top.
The Best Size Is the One the Room Can Operate
Start with human movement, then fit the cabinet inside the remaining envelope. A slightly smaller vanity with working drawers, reachable shutoffs, comfortable counter height, and clear circulation is more useful than the largest box the wall appears to accept. Keep the measured map and exact product drawing with the project record so installers are coordinating from the same information.