A floating vanity is cabinetry supported by a wall, not ordinary furniture hovering above the floor. Its daily load includes the cabinet, top, basin, stored products, a person leaning at the edge, and plumbing movement. Before comparing wood tones or drawer fronts, identify the wall assembly and prove where that load will go.
Affiliate disclosure: Product links may earn this site a commission when a qualifying purchase is completed. That commercial relationship does not replace structural review or influence the installation cautions below.
Our top picks

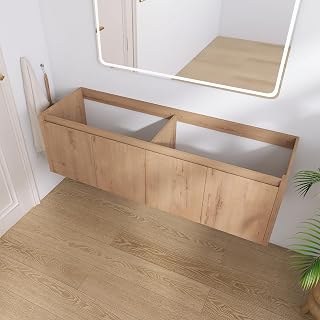


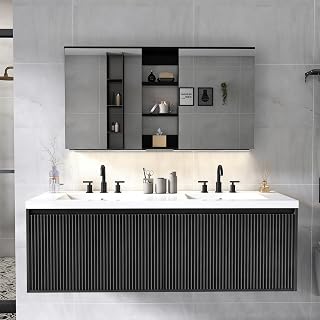


As an Amazon Associate we earn from qualifying purchases at no extra cost to you.
Editorial method: No cabinet was load-tested or installed for this article. Manufacturer product listings and technical resources were reviewed on August 26, 2026. Three KOHLER models were selected because they show meaningful differences in width and package scope while retaining traceable model numbers. They are examples for a wall-and-plumbing decision, not a durability ranking.
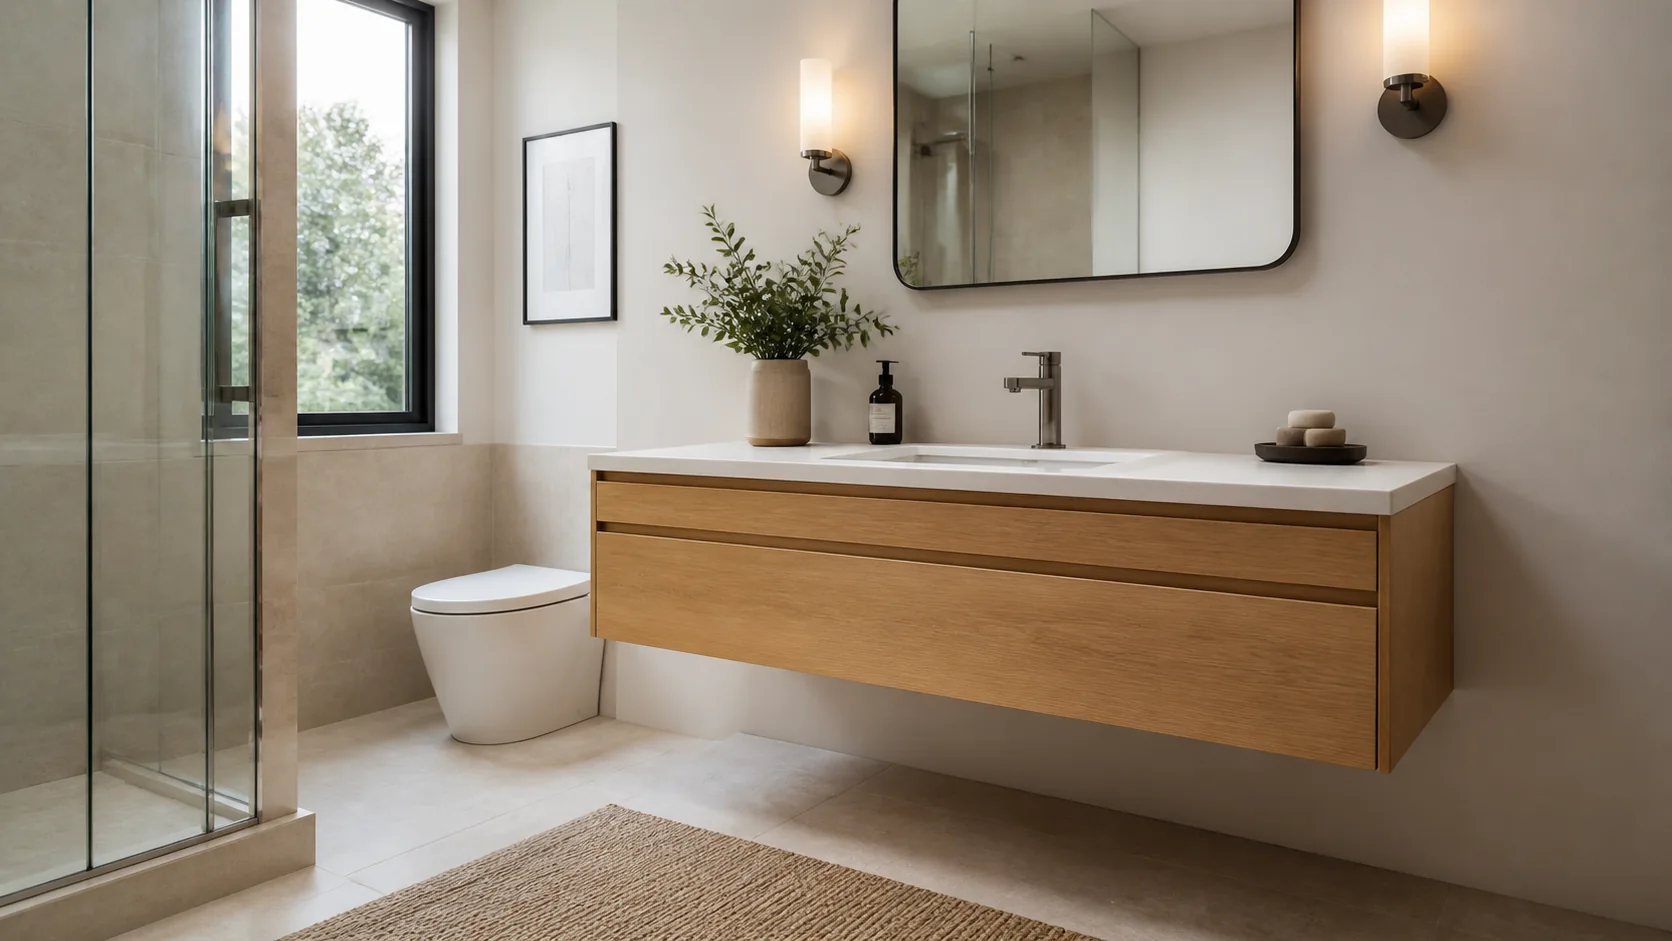
Three Exact Wall-Hung Configurations
| Exact model | Documented package | Installation question that distinguishes it |
|---|---|---|
| KOHLER Jute K-99539-1WA | 24-inch wall-hung vanity cabinet; cabinet-only configuration | Which compatible top and sink complete the load, hole pattern, and finished depth? |
| KOHLER Maxstow 34653-WEK | 24-inch wall-hung vanity cabinet supplied with sink and quartz top | Can the coordinated set align with existing rough-in while keeping drawers serviceable? |
| KOHLER Lodern 33566-1WX | 36-inch wall-hung vanity cabinet; cabinet-only configuration | Does the wider rail or fastener pattern land on verified structure across the wall? |
Width alone is not enough to order from. Confirm current overall width, height, depth, mounting-hole or rail data, top compatibility, sink choice, and hardware contents on the exact model page and installation document. Finish suffixes can change the cabinet surface without changing the collection name.
Open the Wall Question Before the Product Box
Determine whether the vanity wall uses wood studs, steel studs, masonry, concrete, structural panels, or an unknown remodeled assembly. A stud finder suggests locations but does not prove condition, size, or fastening capacity. Plumbing penetrations, fire blocking, previous notches, water damage, and tile backer can alter the expected structure.
New construction and open-wall remodels offer the cleanest solution: place continuous blocking or an engineered backing panel at the exact fastener zone shown by the vanity document. Coordinate the backing with supplies, drain, electrical boxes, mirror fasteners, and wall-mounted faucet components. Photograph dimensions before drywall or tile conceals the work.
An existing tiled wall deserves caution. Tile is a finish, not structural blocking. Drilling must avoid pipes, wiring, waterproofing transitions, and brittle edges. The installer should select anchors and torque for the verified substrate and follow the cabinet instructions. Generic hollow-wall anchors are not a substitute when the manufacturer expects framing attachment.
Build a Realistic Load Path
Calculate the installed system, not the empty carton. A cabinet-only Jute or Lodern later receives a top, basin, faucet, drain, and stored items. A Maxstow set already coordinates major components, yet toiletries and user contact still add load. The wall connection must transfer those forces to sound framing or masonry without relying on tile or gypsum.
A mounting rail distributes load only where its fasteners engage adequate structure. If rail holes miss studs, do not drill random new holes through the cabinet without manufacturer approval. Supplemental blocking, an approved alternate fastener layout, or opening and repairing the wall may be required.
Check rotation as well as downward weight. Someone pressing on the vanity front creates leverage that tries to pull upper fasteners from the wall. A deep top and wide cabinet increase that moment. Correct lower restraints, rail seating, wall flatness, and cabinet alignment help keep the assembly from rocking.
Place Plumbing Around Drawers, Not Through Them
Wall-hung vanities frequently use drawers or internal dividers that occupy the traditional trap zone. Obtain an interior drawing and mark the open service envelope. Plot hot and cold stops, drain center, trap, faucet supplies, overflow, and any electrical outlet. A centered rough-in can still conflict with a drawer back or rail.
Moving a drain after tile installation is disruptive. Resolve horizontal and vertical positions while the wall is open. Use a code-compliant, serviceable trap; do not choose corrugated tubing merely because it bends around a drawer. The trap and stops must remain reachable after contents are loaded.
For a wall-mounted faucet, add valve depth, spout reach, backsplash or tile thickness, and future cartridge access. For a deck-mounted faucet, verify hole pattern and clearance below the top. Faucet supply tails should not rub drawer boxes, and shutoff handles should complete their travel without unloading the cabinet.
Finished Height Is a System Dimension
Set the target rim or countertop height based on intended users and applicable accessibility requirements. Then subtract the actual top and cabinet dimensions to locate the mounting rail. Do not mount the cabinet at a guessed height and hope the selected vessel sink or thick top remains comfortable.
A wall-hung cabinet creates a visible floor gap. Confirm a vacuum head, mop, or wheelchair foot clearance according to the project goal. Too small a gap becomes a dust slot; too large a gap can put the basin uncomfortably high. Baseboard and tile layout may influence appearance but should not override ergonomics.
Mark finished-floor level, not subfloor, when transferring heights. Large-format tile, leveling compound, heated-floor assemblies, and thresholds can change the final reference. On an uneven wall, correct the substrate rather than twisting the vanity to follow it.
Model-by-Model Coordination Notes
Jute K-99539-1WA: compact cabinet-only flexibility
The 24-inch Jute is useful when the designer wants to select a separate vanity top and sink. That freedom creates more interfaces. Verify the approved top width and depth, basin cutout, faucet drilling, overhang, total weight, and drawer clearance. Keep the cabinet model and top model together in the project schedule.
Maxstow 34653-WEK: compact coordinated set
Maxstow packages a 24-inch wall-hung cabinet with sink and quartz top, reducing top-to-cabinet selection risk. It does not eliminate wall or rough-in work. Use the set’s combined dimensions and mounting instructions, then place drain and supplies within the documented interior opening.
Lodern 33566-1WX: wider cabinet, broader attachment zone
The 36-inch Lodern offers more horizontal storage and counter potential than the two compact examples. Its broader span makes wall flatness, rail engagement, and fastener distribution more visible. Pair it only with approved components and verify that framing or continuous backing covers the required mounting region.
Clearance Review Around the Vanity
| Conflict | What to measure | Decision |
|---|---|---|
| Entry or shower door | Full swing plus handles and towel hooks | Reduce vanity width or change door strategy before ordering |
| Toilet zone | Fixture centerline and required side clearance | Follow applicable code and accessibility plan |
| Drawer versus trap | Interior drawer envelope and actual pipe center | Move rough-in or choose a compatible cabinet layout |
| Mirror and lighting | Top height, faucet height, mirror edge, electrical boxes | Coordinate elevations before wall closure |
| Cleaning below | Finished floor gap and cleaning-tool height | Select a deliberate mounting elevation |
Use painter’s tape to outline the cabinet and top on the finished wall. Add drawer projection on the floor and stand at the mock sink position. This catches an elbow colliding with a side wall, a door handle striking the cabinet, or a mirror that begins too low.
Installation Hold Points
- Verify wall composition, framing condition, and hidden services.
- Match blocking elevation to the exact rail or fastener drawing.
- Approve the complete cabinet-top-sink-faucet weight and geometry.
- Set plumbing within the unobstructed drawer service zone.
- Transfer height from the finished-floor reference.
- Dry-fit rail and cabinet before drilling finished tile where possible.
- Level without distorting the cabinet against an uneven wall.
- Leak-test supplies and drain before loading drawers.
- Photograph fasteners, backing dimensions, and plumbing for future service.
Stop when the wall structure is unknown, fasteners miss required backing, tile cracks, the cabinet rocks, plumbing must be improvised, or instructions conflict with site conditions. A carpenter, plumber, tile professional, or engineer may need to resolve different parts of the installation.
Coordinate the next decision with the calculate vanity width and finished height.
Frequently Asked Questions
Can a floating vanity mount directly to drywall?
Drywall is not the assumed structural support. Follow the exact cabinet requirements and attach to verified framing, masonry, or engineered backing using the approved hardware plan.
Should blocking cover the entire vanity width?
Blocking layout should follow the rail and fastener document while allowing plumbing penetrations. Continuous backing can improve flexibility, but its material, thickness, attachment, and location require project approval.
Can existing plumbing stay centered?
Only if the trap, stops, and supplies fit the model’s internal service envelope and remain accessible. Drawer geometry often makes relocation necessary.
When should the vanity height be decided?
Before rough-in and blocking. Use the finished top or basin height, actual component dimensions, intended users, floor buildup, and accessibility requirements.
Is a cabinet-with-top set automatically easier?
It removes some compatibility choices but still needs verified wall support, faucet and drain coordination, service clearances, and careful handling of the top.
Recommendation: Select the Wall-Vanity System
Choose Jute K-99539-1WA when a compact cabinet-only format and custom top are worth the added coordination. Choose Maxstow 34653-WEK when a 24-inch coordinated quartz-top set fits the existing rough-in. Choose Lodern 33566-1WX when a 36-inch cabinet matches storage needs and continuous backing. The well-supported choice is whichever complete assembly has a documented load path, unobstructed plumbing, comfortable elevation, and repair access.
Sources
- Kohler official product page
- Kohler official product page
- Kohler official product page
- Kohler support guidance