Key takeaways
- Undermount: changing reveal, loose clips, separated support, sagging flange, cracked counter edge, darkened seam, or water entering a vulnerable substrate.
- Drop-in: lifted rim, broken clips, flexing counter, failed perimeter seal, corrosion below the flange, or an oversized opening losing bearing area.
- Either: cracked bowl, disposal vibration, drain leak, incompatible sealant, cabinet movement, or a cutout that weakened a rail.
An undermount and a drop-in sink can use the same bowl material and dimensions yet create very different countertop obligations. An undermount hangs below a finished opening, exposing the cut edge and relying on concealed support plus a sealed sink-to-counter joint. A drop-in, or top-mount, lowers through the opening and bears through a visible rim. The decision should begin with the countertop, cutout, load path, and replacement plan—not with a preference for a seamless photograph.
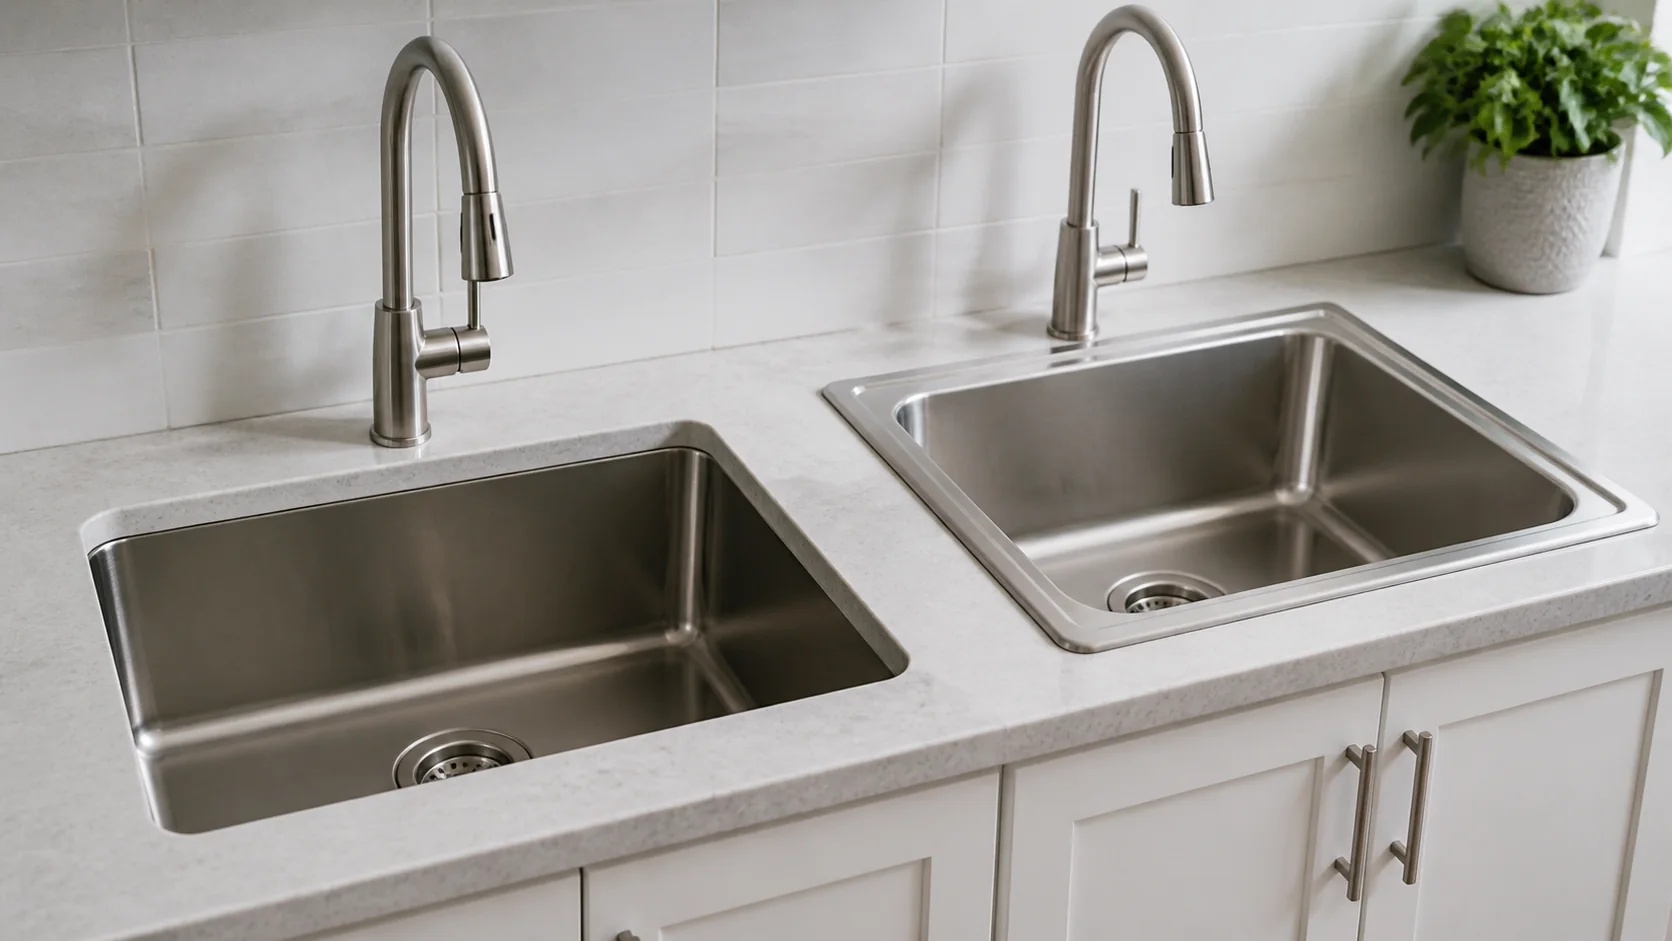
Countertop material is the first gate
Undermount installation displays the entire cut edge, so that edge must be structurally suitable, accurately fabricated, and finishable. Stone, engineered quartz, solid surface, concrete, and some purpose-built composite or laminate systems may support an undermount detail when their manufacturers approve it. Conventional particleboard-core laminate presents a vulnerable exposed core unless a tested system encloses and waterproofs the opening.
Our top picks




As an Amazon Associate we earn from qualifying purchases at no extra cost to you.
Top-mount installation hides the cut edge beneath the sink flange. That often makes it practical for laminate and existing counters, but the countertop still must support the sink, resist moisture, and accept the required clips and sealant. A dual-mount sink label means the sink can be mounted either way; it does not certify every counter material or eliminate installation requirements.
Kohler’s undermount instructions note that specialized tools may be required for counter materials other than wood or wood composite and direct the countertop supplier to determine required support. The fabricator of the actual surface should confirm whether the intended mounting method, cut-edge finish, anchors, and sealant preserve the surface warranty.
Reveal is a functional dimension
At an undermount opening, “reveal” describes how the countertop edge relates to the sink rim. A positive reveal leaves some rim visible. A flush reveal aligns the edge with the bowl. A negative reveal lets the counter overhang the rim. These options affect usable opening, appearance, cleaning access, accessory movement, and where residue can collect.
The sink manufacturer may constrain the choice. Kohler’s current 1634499 undermount guide requires a positive reveal for that workstation so its accessories move freely. Another Kohler installation guide provides separate template lines and faucet clearances for reveal and no-reveal installations. Never choose reveal from a generic diagram when the supplied template and accessories require a specific relationship.
A drop-in sink has no undermount reveal, but its rim width and profile matter. The rim can interrupt wiping from counter to bowl, occupy faucet-deck space, and cover a larger or imperfect opening. Confirm how far it extends beyond the cutout and whether raised clips or sealant squeeze-out will affect seating.
Cutout accuracy carries different consequences
An undermount cutout is a finished architectural edge. Small errors remain visible as uneven reveal, irregular curves, chips, or accessory interference. Kohler repeatedly requires the countertop cutter to use the product’s current template and disclaims responsibility for errors caused by an incorrect template. Its 1634499 guide recommends giving the fabricator the actual sink and faucet and measuring the sink before cutting.
A top-mount cutout is concealed but must remain within flange and clip geometry. An oversized opening loses bearing or clip engagement; an undersized one prevents seating. Nominal exterior size does not prove replacement fit.
Dry-fit the actual sink and inspect it for damage before permanent work. Confirm cabinet rails, bowl, drains, faucet, backsplash, window trim, disposal, and supplies. The guide to measure a kitchen sink and cabinet helps document these interfaces before a fabricator cuts an irreversible opening.
Follow the load path
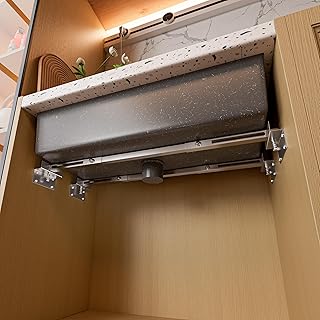
A filled sink carries water, cookware, a disposal, and dynamic loads from scrubbing or impact. An undermount flange does not sit on top of the counter; approved clips, rails, brackets, a support frame, or a manufacturer-designed system must transfer load safely. Adhesive or sealant may seal and bond, but it should not be assumed to be the only structural support unless the complete system explicitly says so.
A drop-in flange spreads load onto the top while clips compress its seal, but a thin or damaged counter can still fail. Heavy sinks may require added support regardless of mounting style.
Do not improvise anchors in stone, route away cabinet structure, or substitute construction adhesive. The sink guide, countertop supplier, and support-hardware instructions must agree. A qualified fabricator should drill or machine brittle surfaces.
Seal location changes inspection and cleaning
On an undermount, the sink-to-counter joint sits beneath the cut edge. Depending on reveal, part of the rim or underside overhang can collect residue. The joint must remain continuous, compatible with both materials, and accessible enough to inspect. An open seam can admit water toward the counter substrate or trap food soil.
On a drop-in, the seal lies beneath the perimeter rim. The top edge is easy to see, but water can enter if the flange lifts, the counter flexes, or the seal fails. Applying a cosmetic bead around an already loose rim does not restore clip engagement or remove contamination below it.
For both types, use only the sink and countertop makers’ approved sealant and preparation. Remove excess by the specified method and observe full cure time before loading, plumbing, or wetting the joint. Solvent, primer, and sealant compatibility are material-specific.
Cleaning is edge management
Undermount installation allows crumbs and water to be swept from the counter into the bowl without crossing a top rim. That advantage is strongest when the cut edge and reveal are smooth. A rough edge, negative-reveal underside, or failed seal can be harder to inspect than a drop-in perimeter.
Faucet deck and accessory holes
Many undermount sinks have no faucet deck, so the faucet, soap dispenser, air gap, and filtered-water tap pass through the countertop. Their holes need adequate spacing from the cutout, backsplash, cabinet rails, and sink flange. Kohler’s 1019948 guide gives different minimum faucet-centerline clearances for its reveal and no-reveal layouts, illustrating why the current model drawing controls.
Top-mount sinks may provide deck holes or knockouts, simplifying laminate work. Verify count, orientation, shank length, spacing, and covers. Installing a deck faucet before setting the sink may improve access when instructions permit.
Replacement and remodeling constraints
A drop-in replacement can sometimes reuse an existing opening when the new flange fully covers it and clips can engage sound material. This makes it attractive for phased remodeling. Still, measure the actual cutout and corner radii after removing old sealant; product exterior dimensions cannot prove compatibility.
An undermount replacement must match the visible opening, reveal, corners, flange, and supports. Small differences may require impossible on-site refabrication, while a sink trapped between counter and cabinet may require destructive removal.
Assign installation responsibility in writing
The supplier verifies model and hardware; the fabricator approves the surface and opening; the cabinet installer provides specified support; the plumber connects and tests water and drainage. Contracts vary, so assign every interface and callback in writing.
Kohler’s 1634499 guide states that its installation must be performed by a qualified professional. Treat such language as a product requirement, not optional advice. Use the kitchen sink installation cost guide to compare quotes only after responsibilities, materials, support, cutout, plumbing, and finish repair are normalized.
Failure modes worth inspecting
- Undermount: changing reveal, loose clips, separated support, sagging flange, cracked counter edge, darkened seam, or water entering a vulnerable substrate.
- Drop-in: lifted rim, broken clips, flexing counter, failed perimeter seal, corrosion below the flange, or an oversized opening losing bearing area.
- Either: cracked bowl, disposal vibration, drain leak, incompatible sealant, cabinet movement, or a cutout that weakened a rail.
Stop using a sink that moves, loses support, cracks the counter, or leaks into the cabinet. Do not conceal movement with more sealant. Support and substrate must be sound before resealing.
Scenario matrix
| Project condition | Likely starting point | Required verification |
|---|---|---|
| New stone or engineered counter | Undermount or drop-in | Fabricator approval, template, support, edge finish |
| Conventional laminate counter | Drop-in | Sound core, rim coverage, clip access |
| Existing opening must remain | Drop-in often easier | Actual cutout, corner radius, flange bearing |
| Seamless counter wiping is central | Undermount | Reveal, polished edge, inspectable seal |
| Future low-disruption replacement matters | Drop-in | Common dimensions and service access |
| Heavy fireclay or cast iron sink | Either, model-dependent | Independent support and cabinet capacity |
| Bowl workflow is unresolved | Decide configuration first | Compare single and double sink bowls |
Frequently asked questions
Can any drop-in sink also be undermounted?
No. Use only a model explicitly approved for undermount or dual-mount installation, with the required hardware and template.
Can an undermount sink be installed under laminate?
Only when the countertop and sink systems explicitly support that detail and protect the core. Conventional exposed particleboard edges are vulnerable to water.
Which reveal is easiest to clean?
No reveal is universally best. Positive reveal exposes rim; negative reveal creates an underside ledge; flush alignment demands accuracy. Follow accessory and sink requirements, then inspect the joint regularly.
Does silicone alone hold an undermount sink?
Do not assume so. Sealant chemistry and structural support are separate questions. Use the approved mounting and support system specified for the sink and counter.
Can a new drop-in hide a damaged old cutout?
A wider rim may cover cosmetic irregularity, but it cannot make swollen, cracked, or undersized bearing material structurally sound. Repair the substrate first.
Choose the interface you can build and service
Choose undermount when the countertop supports a finished opening, the fabricator can deliver the required reveal, and concealed supports and seals will remain inspectable. Choose drop-in when broad counter compatibility, visible bearing, and easier replacement carry more value than rim-free wiping. In either case, the correct template, verified load path, compatible seal, plumbing clearance, and written responsibility matter more than the mounting label.
Primary technical references
- Kohler 1019948 undermount sink installation guide
- Kohler 1634499 undermount workstation installation guide
- Kohler K-80167 dual-mount specification and template notice
- Kohler kitchen sink installation sequence
- Kohler K-8185 dual-mount product specifications