Key takeaways
- The basin is level, stable, and supported by specified hardware.
- The sealant is continuous and fully cured.
- Controls, hose, and accessories move without collision.
- Supply lines have no twist, abrasion, sharp bend, or tension.
- The trap aligns without being forced.
- Static fill, full discharge, hot/cold, disposal, and dishwasher tests remain dry.
- Shutoffs, fasteners, and service parts remain reachable.
Installing a kitchen sink is less about lifting a bowl into a hole than controlling a chain of tolerances. The rim must seal, the basin needs support, the faucet needs room, and the drain must reach the trap without strain. One measurement error can turn a modest replacement into countertop work or a leaking cabinet. This kitchen sink installation guide organizes the job around checkpoints: first prove the sink fits, then build the assembly, and only then introduce water.
Safety note: plumbing rules and permitted work vary by location. Stop if shutoff valves do not close, wiring or a disposal circuit is unsafe, the countertop is cracked, or concealed damage is visible. Manufacturer instructions and local code take precedence over this general guide.
Our top picks


As an Amazon Associate we earn from qualifying purchases at no extra cost to you.
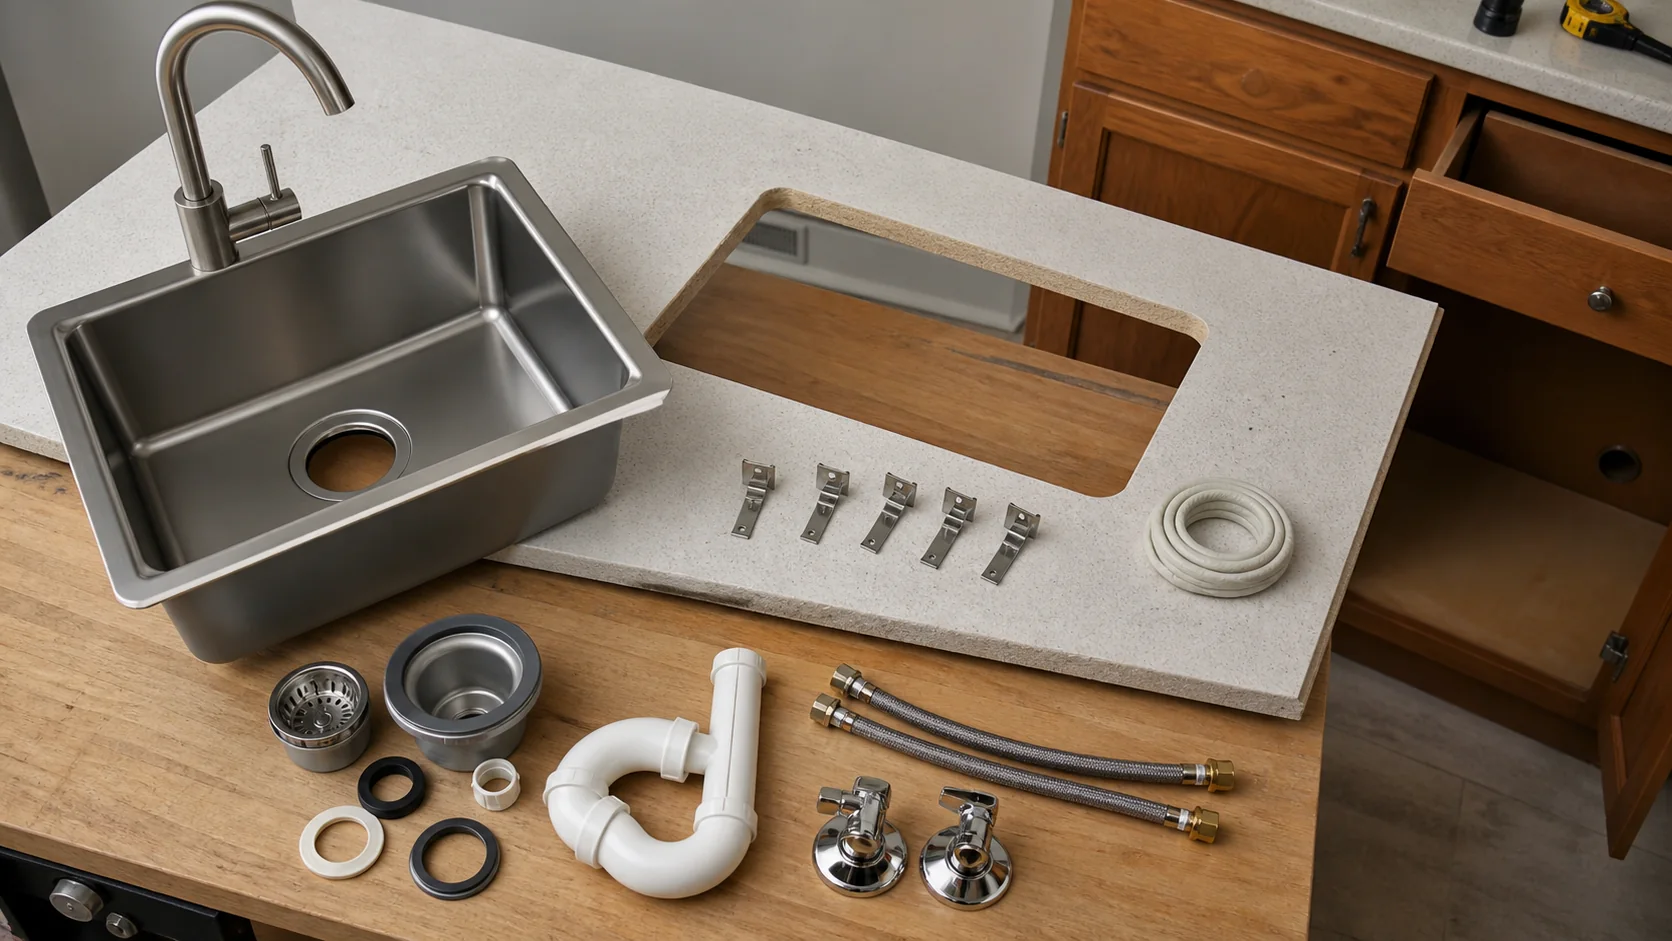
Checkpoint 1: Identify the Mounting System
A drop-in sink rests on its top rim and usually clamps to the underside of the counter. An undermount sink is supported below the slab with clips, rails, brackets, or a purpose-built cradle. Farmhouse sinks may bear on a cabinet platform, while some heavy fireclay or cast-iron models require substantial reinforcement. These systems are not interchangeable. Obtain the exact installation sheet before modifying the cabinet or counter.
Record the model number, overall dimensions, bowl depth, drain location, minimum cabinet size, cutout template revision, faucet-hole arrangement, and listed sink weight. The minimum cabinet dimension is not the same as usable interior space: face-frame rails, drawer hardware, side panels, and a disposal can all intrude. A deep basin may also lower the drain outlet enough to compromise the trap’s fall toward the wall.
For mounting consequences, see undermount vs drop-in kitchen sinks. If the sink has not been chosen, the kitchen sink materials comparison explains why weight and edge vulnerability affect installation.
Checkpoint 2: Map the Cabinet in Three Dimensions
Measure the cabinet interior at the top, middle, and base rather than assuming the walls are parallel. Mark the countertop seam, cabinet dividers, braces, supply valves, drain stub-out, electrical box, dishwasher hose, and disposal body. Then draw the proposed bowl and fittings in elevation. This catches conflicts that a plan-view template cannot show.
| Measurement | What it controls | Failure if ignored |
|---|---|---|
| Opening and corner radius | Rim or reveal fit | Exposed gap or irreversible overcut |
| Front rail to rear wall | Bowl and faucet clearance | Faucet shank blocked by framing |
| Bowl bottom to wall drain | Trap geometry | Forced uphill drain |
| Left/right bowl position | Disposal and valve access | Motor collision |
| Counter thickness | Clip and shank engagement | Fasteners too short |
Never enlarge a stone, quartz, or solid-surface opening from a paper template alone. Compare the physical sink to the template, confirm the reveal specified by the sink maker, and have countertop alterations performed with appropriate tooling and dust controls. Laminated counters present different sealing risks at exposed core material. If slab strength or cutout position is uncertain, involve the fabricator before cutting.
Checkpoint 3: Dry-Assemble Accessible Parts
With the sink out, install components that would be awkward beneath the counter: faucet, soap dispenser, air gap where required, strainers, and sometimes the disposal flange. Follow each component’s sealing instructions. Plumber’s putty can stain porous material and may be prohibited for some plastics; silicone is not a universal substitute.
Orient faucet handles before tightening. Confirm supply lines reach without tension. For a pull-down faucet, move its hose through the complete path and reserve a clear zone for the weight. It must not catch on the drain, disposal, valves, or stored products. The kitchen faucet installation guide covers that assembly separately.
Checkpoint 4: Provide Structural Support
Support must exist independently of wet sealant. Test every drop-in clip location and ensure the rim lies flat. For an undermount model, install the specified clips, rails, or frame into sound material; adhesive alone is not structural support unless the engineered system explicitly says so. Size support for the filled basin and attachments, not merely the empty shipping weight.
Dry-fit and mark the centered position. Verify the reveal and faucet access. Remove the sink, clean both bonding surfaces as directed, and let them dry. Apply a continuous bead of the specified sealant. Seat the sink once, engage support evenly, remove squeeze-out, and respect the full cure time.
Checkpoint 5: Build a Relaxed Drain Path
The drainage assembly should meet naturally, not because slip joints were pulled sideways into alignment. Mock up the tailpiece, tee where applicable, trap, and trap arm. Maintain the code-required trap arrangement and slope toward the wall. Avoid ribbed flexible drain pieces, which collect debris and disguise poor geometry.
A deeper sink often places the outlet below the existing trap arm. If gravity cannot provide the required fall, the wall drain may need professional alteration. Keep washers oriented correctly, insert tubing fully, and use only the tightening permitted by the fitting maker. The under-sink plumbing guide explains dishwasher and disposal branches.
Checkpoint 6: Commission in Stages
Open shutoffs slowly while watching connections. Use dry tissue around each joint. Run cold water at low flow, then hot water, then full mixed flow. Move the spray hose through its range. Fill each bowl and let it stand several minutes so the strainer seal experiences static pressure.
Release a full bowl while observing every drain joint. This surge reveals more than a narrow stream. Test the disposal and dishwasher connection separately. Dry the cabinet base and repeat inspection the next day. Paper beneath joints or a removable moisture alarm can expose intermittent drips.
Acceptance Record
- The basin is level, stable, and supported by specified hardware.
- The sealant is continuous and fully cured.
- Controls, hose, and accessories move without collision.
- Supply lines have no twist, abrasion, sharp bend, or tension.
- The trap aligns without being forced.
- Static fill, full discharge, hot/cold, disposal, and dishwasher tests remain dry.
- Shutoffs, fasteners, and service parts remain reachable.
Frequently Asked Questions
Can a new sink use the old cutout?
Only if the exact rim, corner radius, reveal, clip locations, and faucet clearance are compatible. Nominal width is insufficient. Compare the physical sink and current template with the opening before purchase.
How long should sealant cure?
Use the time stated for the exact product under actual temperature and humidity. “Skin time” is not full cure. Loading the joint too early can shift the assembly or compromise the water seal.
Should the faucet be installed first?
Often yes because access is easier on a bench, but sequence depends on sink weight, hardware, and lifting room. Dry-fit first so preinstalled parts do not block clips or supports.
Why does the replacement drain slowly?
Possible causes include poor trap-arm slope, debris, a pinched appliance hose, restricted strainer, or venting problems. Inspect geometry before using chemicals.
Technical References
Document the concealed work
Before doors and stored goods hide the installation, photograph the mounting clips, support rails, supply routing, hose weight clearance, disposal connection, and trap-arm slope. Include a ruler or recognizable reference in close views. Label the images with the sink model and date. This small record helps a future plumber understand what is carrying the bowl and where a line travels without dismantling sound work.
- International Plumbing Code, 2024 — fixture drainage and traps; verify the locally adopted edition.
- OSHA crystalline silica guidance — relevant to engineered and natural stone cutting.
- NSF food-contact surface guidance — cleaning and hygiene context.
A successful installation ends with evidence, not appearance. Preserve the model sheet, cutout template, photos of hidden supports, sealant name, and leak-test date. Those records make future service faster and demonstrate that the finished counter is backed by an inspectable assembly.