A faucet leak can originate inside the valve, around the spout base, at a supply connection, or from water splashing beyond the fixture. Replacing random parts wastes time and can create a second leak. Begin by drying the area, observing when water appears, and identifying the exact faucet model.
Shut off water before disassembly. If the valves will not close, plumbing is corroded, or water is entering a wall or cabinet, stop and call a qualified plumber. This guide addresses common accessible faucet repairs, not concealed plumbing failures.
Our top picks


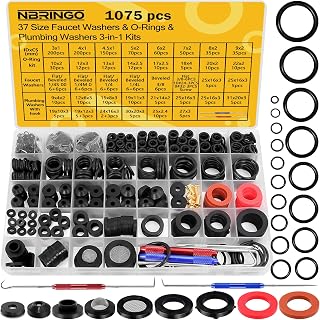


As an Amazon Associate we earn from qualifying purchases at no extra cost to you.
Before replacing a fitting, use the connection map in our under-sink plumbing guide. For safe drinking-water components, consult the NSF plumbing-fixture guidance and the faucet manufacturer’s model-specific service instructions.
Locate the Leak Before Taking Anything Apart
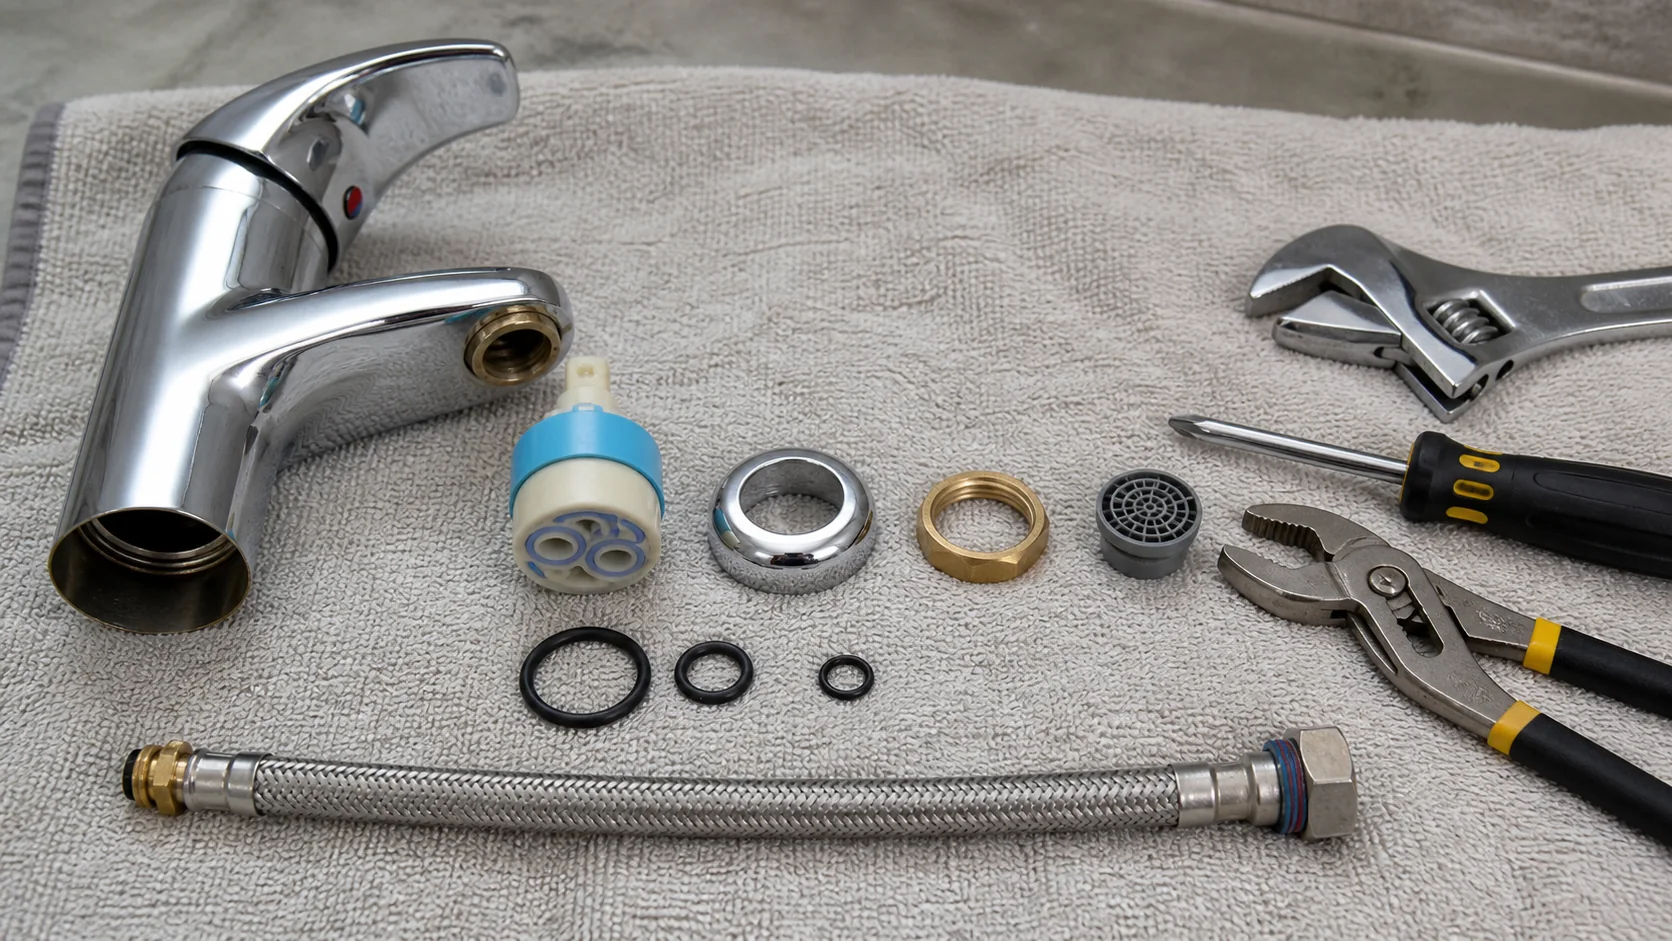
Dry the faucet, sink rim, supply lines, and cabinet floor. Place dry paper around individual connections, then operate hot and cold water separately. A drip from the spout while handles are off points toward a cartridge, stem, valve seat, or seal. Water at the handle may indicate cartridge seals or packing. Water around a swivel spout often suggests worn O-rings.
Moisture below only when water runs may come from a loose supply line, faucet shank, pull-down hose, drain, or sink rim. Do not assume the faucet is responsible. Fill and drain the basin separately to distinguish supply-side from drain-side leaks.
Identify the Faucet and Correct Parts
Find the brand and model on the faucet, supply tag, manual, receipt, or manufacturer website. Cartridges that look similar may differ in length, rotation, temperature limit, and spline pattern. Use the model-specific parts diagram.
Take photos before disassembly and arrange parts in order. Protect the drain so screws cannot fall through. Use a padded wrench or cloth to avoid damaging finishes, but do not apply excessive force to a decorative cap.
Shut Off and Relieve Pressure
Close both fixture shutoff valves gently, then open the faucet to confirm flow stops and pressure is relieved. If a valve leaks at the stem or fails to stop water, do not force it. Shut off the building supply if safe and arrange valve repair.
Disconnect electrical power for touchless faucets as instructed. Keep the workspace dry around outlets and disposal wiring. Place a shallow pan and towels below connections.
Inspect or Replace the Cartridge
Remove the handle according to the manual, noting any hidden set screw. Take off the retaining nut or clip without bending it. Photograph cartridge orientation. Mineral buildup can make removal difficult; use the manufacturer’s recommended puller rather than twisting the valve body.
Inspect the housing for debris and damaged seals. Clean only with approved methods. Lubricate new seals with manufacturer-approved plumber’s grease when specified; petroleum products can damage some rubber. Insert the replacement in the correct orientation, reinstall the retainer, and set any anti-scald limit according to instructions.
Check O-Rings and the Spout Base
A rotating spout usually seals against the body with one or more O-rings. After shutoff, remove the spout as directed. Replace seals with exact sizes and inspect the sealing surface for corrosion or grooves. A new O-ring cannot compensate for a deeply damaged body.
Clean mineral deposits without scratching the surface. Apply only compatible lubricant and avoid stretching the ring over sharp edges. Reassemble the spout and confirm smooth rotation.
Inspect Supply Lines and Hose Connections
Check where supply tubes meet the shutoff valves and faucet shanks. A compression connection may leak if misaligned or damaged; simply tightening harder can deform components. Many faucet connectors use factory gaskets and should not receive thread tape unless instructions specify it.
Replace a braided hose that is kinked, corroded, bulging, frayed, or leaking. Do not reuse damaged seals. Pull-down faucets have additional quick-connect fittings and hose weights; verify each is locked and that the hose is not rubbing a sharp cabinet edge.
Reassemble and Test Slowly
Remove the aerator before restoring water so debris can flush without clogging it. Open shutoff valves slowly and inspect every connection while dry. Run hot and cold water, operate the handle repeatedly, swivel the spout, and extend the spray hose.
Reinstall a cleaned aerator and check flow. Place dry paper below the faucet and inspect again after several minutes and later the same day. A slow leak may not appear immediately.
Know When Replacement Is Better
Replacement may be more sensible when the body is cracked, corrosion has damaged sealing surfaces, parts are unavailable, several components fail, or the faucet is poorly matched to the sink. Verify hole pattern, deck thickness, backsplash clearance, supply compatibility, and spout reach before buying.
Common Repair Errors and Their Consequences
Forcing a seized handle can break the stem or bend the valve body. Scratching a cartridge bore can prevent a new seal from working. Reversing a cartridge may swap hot and cold operation or prevent proper closure. Photographing the original orientation and using the prescribed puller reduces these risks.
Another error is treating every thread with tape or compound. Compression fittings and gasketed supply hoses seal at their ferrule or washer, not at the threads. Extra material can interfere with seating and hide cross-threading. Clean components, confirm alignment, and follow the model instructions.
Do not reuse a hose simply because tightening stopped an active drip. Corrosion, bulging, damaged braid, or a hardened gasket warrants replacement. Likewise, a wet cabinet base should be dried and inspected for swelling or mold after the plumbing repair.
Finally, test at normal pressure and through every operating mode. A pull-down hose may leak only when extended, and a handle seal may leak only at a particular temperature. Mark the repair date and inspect it again after a day. Early rechecking is the easiest way to catch a connection that relaxed after installation.
When mineral deposits repeatedly damage cartridges, investigate source water rather than treating the faucet as the only problem. Hardness scale and sediment can shorten seal life, but treatment should follow water testing. A clogged aerator can also redirect spray and imitate a base leak; clean it according to the finish and manufacturer guidance. If multiple fixtures show reduced flow or debris appears after utility work, flushing and broader plumbing assessment may be appropriate. Keep receipts and model information with the repair notes so the next cartridge can be identified without dismantling the faucet again. These records are especially useful when a part carries a manufacturer warranty.
Dispose of removed seals and cartridges responsibly, keep small parts away from children, and wash hands after working inside an older valve body.
Frequently Asked Questions
Why does the spout drip after the faucet is off?
A few residual drops may drain from the spout, but continued dripping usually indicates a cartridge, valve seat, or seal that is not closing fully.
Can I tighten a leaking supply line?
Only within manufacturer guidance. Over-tightening can damage gaskets, threads, or valves. Shut off water and inspect alignment and seals first.
Do faucet connections need thread tape?
Some tapered pipe threads do, while many faucet hoses seal with a gasket and do not. Follow the exact fitting instructions.
How do I find the correct cartridge?
Use the faucet model and manufacturer parts diagram. Visual similarity is not enough.
When is a faucet leak an emergency?
Shut off water promptly for uncontrolled flow, a failed shutoff valve, flooding, or water entering walls, electrical areas, or cabinets.