Key takeaways
- Wet-area framing or substrate damage
- Old plumbing that fails when disturbed
- Toilet flange and subfloor condition
- Inadequate electrical capacity or grounding
- Unvented or undersized exhaust duct
- Asbestos, lead, mold, or other regulated remediation
- Unmatchable tile, trim, or flooring transitions
A bathroom upgrade is easier to budget when the room is divided by function rather than by a shopping list. The shower or tub manages water and waterproofing. The vanity combines storage, stone, a sink, and plumbing. The toilet depends on its drain and floor. Lighting and ventilation involve electrical and ductwork. The remaining surfaces connect all those zones.
This guide uses U.S. planning data reviewed on August 26, 2026. A national range cannot predict local labor, taxes, permit fees, access, finish grade, or concealed damage. Use the figures to define scope and challenge assumptions, then obtain itemized quotes for the actual property.
Our top picks


As an Amazon Associate we earn from qualifying purchases at no extra cost to you.
Affiliate disclosure: The site may earn a commission from qualifying product links at no additional cost to the reader.
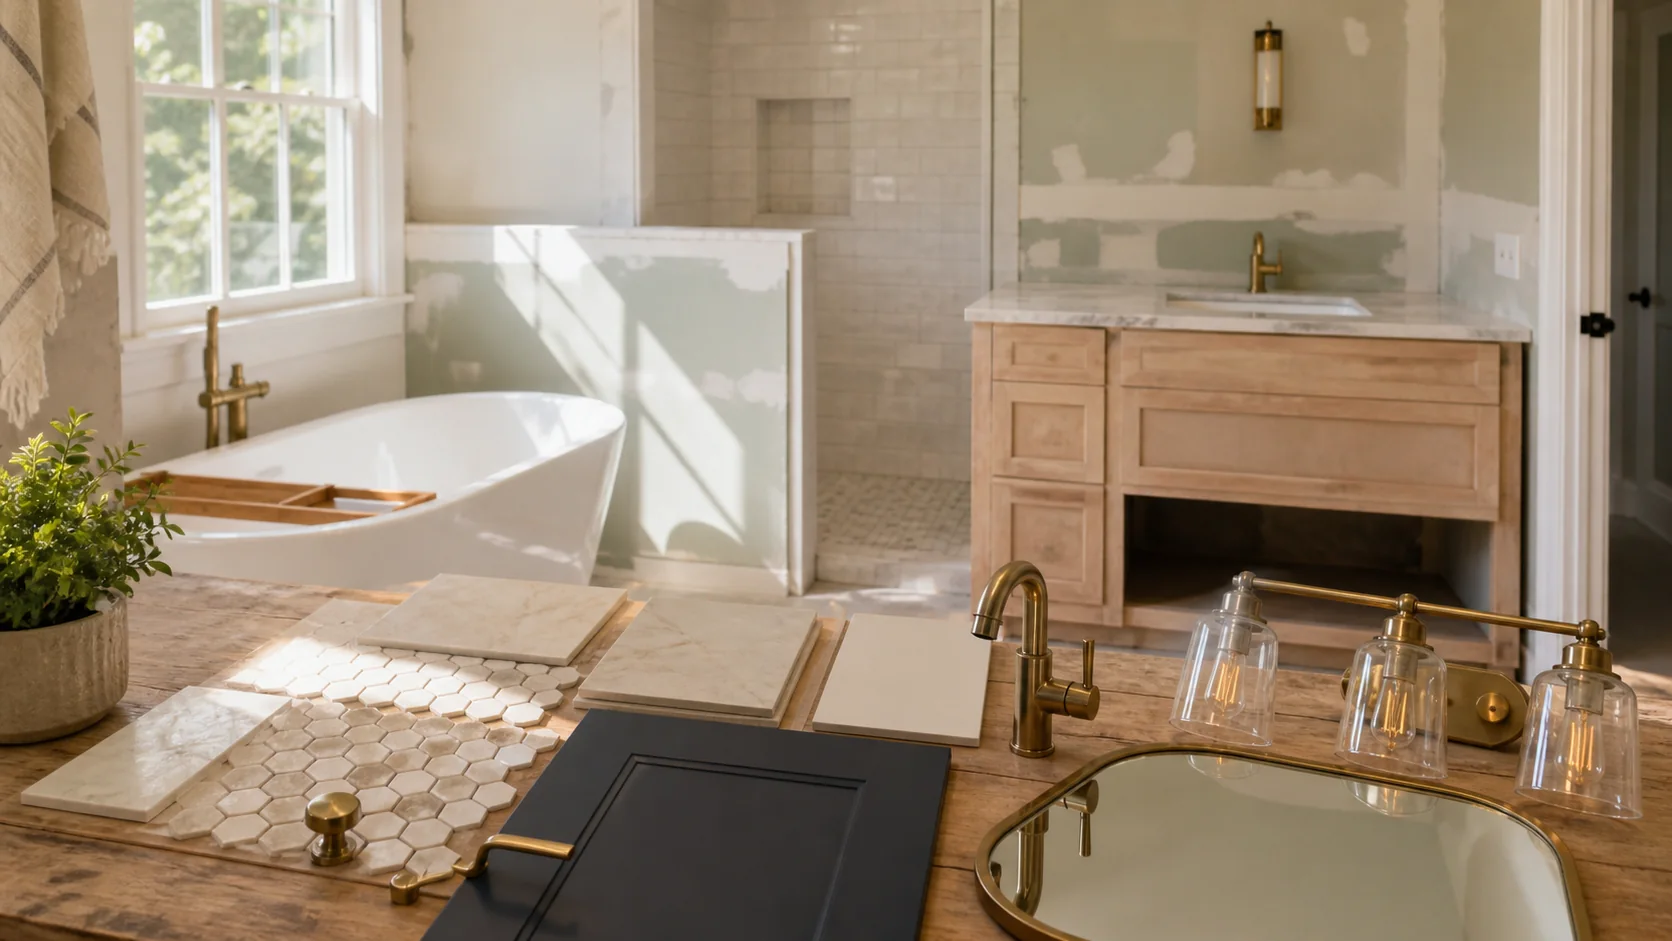
Start With Two Independent Cost Baselines
Angi’s bathroom remodel guide, updated July 9, 2026, reports a common professional range of $6,648 to $17,646, while its broader project discussion spans $2,500 to $30,000 and higher for extensive luxury work. It categorizes minor projects at $3,000 to $10,000, partial projects at $10,000 to $25,000, and full projects at $25,000 to $80,000. See Angi’s 2026 bathroom remodel data.
HomeGuide’s current bathroom remodel guide distinguishes renovation—updates that preserve layout—from remodeling that changes structure or major features. It notes that region, permits, accessibility, disposal, and specialist labor affect the result. See HomeGuide’s bathroom renovation guide.
These sources should not be averaged into a magic number. Their inclusions and datasets differ. Use them as outer checks after constructing the zone budget below.
Choose a Scope Tier Before Choosing Finishes
| Tier | What remains | What changes | Main budget risk |
|---|---|---|---|
| Refresh | Layout, waterproofing, most fixtures and surfaces | Paint, hardware, lighting, accessories, limited fixture trim | Spending on cosmetics while ignoring leaks or ventilation |
| Zone upgrade | Room footprint and unaffected zones | One major zone such as vanity or shower, plus tie-in finishes | Underpricing transitions between new and retained work |
| Full in-place renovation | Fixture locations and room shell | Most fixtures, waterproofing, surfaces, lighting and ventilation | Concealed damage and incomplete trade coordination |
| Reconfiguration | Only elements proved worth retaining | Layout, plumbing, electrical, walls, openings or structure | Permits, design, engineering, and multiplying finish repairs |
Write the selected tier at the top of every contractor brief. If a desired feature moves the job into another tier, show that change explicitly rather than quietly absorbing it into allowances.
Zone 1: Wet Area—Tub, Shower, Waterproofing, and Glass
The wet area usually has the most expensive consequences for an incomplete scope. Separate demolition, substrate repair, plumbing valve and drain work, waterproofing system, receptor or tub, tile or panels, niches, trim, glass, sealant, and testing. A quote that says only “new shower” leaves too much undefined.
Decide whether the project retains a sound tub/shower assembly, replaces finishes over an approved substrate, or rebuilds to framing. Waterproofing components should form one documented system with the required overlaps, corners, penetrations, cure times, and flood testing where applicable. Tile is a wear surface; grout and tile alone are not the waterproofing plan.
Glass measurements normally follow finished tile, so custom glass affects the schedule. A curbless entry can require floor geometry, drain, framing, and waterproofing decisions well before finishes. Steam, body sprays, and large-format or natural-stone installations add their own enclosure, substrate, ventilation, and maintenance requirements.
Zone 2 and 3: Vanity and Toilet
For the vanity zone, itemize cabinet, countertop fabrication, sink, faucet, drain, backsplash, mirror or medicine cabinet, lighting, wall anchoring, and plumbing connection. A stock vanity that matches the existing rough-in is not comparable to a floating cabinet requiring blocking or a custom top templated after installation. Check door and drawer movement, trap position, supply valves, and service access before ordering.
The toilet zone needs the fixture, seat, removal, setting hardware, supply connection, flange condition, rough-in compatibility, and floor repair allowance. A wall-hung carrier or relocated toilet becomes concealed plumbing and framing work. Powered bidet functions may require a compliant receptacle and electrical review.
Efficiency can influence operating cost, but use verified product data rather than assumptions. EPA states that WaterSense-labeled toilets use at least 20 percent less water than the federal standard and are independently certified for performance. Its calculator and statistics were current in August 2026. Review EPA toilet guidance and the WaterSense calculator when comparing eligible fixtures.
Zone 4: Lighting, Electrical, and Ventilation
List ambient, task, shower-rated, night, and decorative lighting separately. Add switches, dimmers, receptacles, GFCI/AFCI requirements, mirror power, bidet power, floor heat, and any service-panel implications. Product price is only one part; cable routing and wall access can control labor.
Ventilation is a moisture-management system, not merely a fan purchase. Confirm required airflow, sound preference, duct route, exterior termination, backdraft protection, controls, and make-up air considerations. Replacing a weak fan without correcting a crushed or unvented duct may not solve humidity. If walls or ceilings are open, document the duct before closure.
Coordinate mirror, sconces, medicine cabinet, switches, and door swing on an elevation. A late collision can force electrical relocation or a different product after rough-in inspection.
Zone 5: Floors, Walls, Ceiling, and Transitions
Calculate surfaces by measured area plus a waste factor appropriate to the selected layout and material; do not reuse one percentage for every tile. Include substrate preparation, leveling, membranes, trim profiles, grout, sealant, base, paint, threshold, and transition to the adjacent room. Pattern alignment, mosaics, fragile stone, and large-format tile affect labor differently.
Clarify which walls receive full-height tile, partial tile, panels, or paint. A repaired valve opening may be impossible to patch invisibly when the original tile is discontinued. Decide in advance whether to use an access panel, an intentional accent, or replace a complete plane.
Floor changes can affect toilet flange height, vanity legs, door clearance, threshold geometry, and heating. Sequence these interfaces on drawings rather than asking each trade to solve them independently in the field.
Project-Wide Costs: Design, Permits, and Temporary Conditions
Angi’s July 2026 guide lists $1,000 to $2,300 for demolition and $100 to $1,000 for permits in more involved projects, but local rules and project size determine the actual amounts. Do not insert those figures automatically. Ask the building department which plumbing, electrical, mechanical, structural, or layout changes require review and who will close each permit.
Design is not limited to decoration. Measured plans, elevations, reflected lighting, tile layouts, fixture schedules, waterproofing details, and accessibility decisions reduce ambiguity for bidders. Engineering may be required for altered framing, heavy assemblies, or unusual openings. Condominium projects can add board approval, work-hour, insurance, elevator, and protection requirements.
Budget temporary conditions: dust barriers, floor protection, portable toilet needs, alternate bathing arrangements, material storage, cleanup, and disposal. Schedule has monetary value when the home has only one bathroom.
Create a Contingency Ledger, Not a Mystery Percentage
Inspect what is reasonably accessible before pricing: shutoffs, visible leaks, subfloor from below, panel capacity, fan duct, fixture model numbers, water pressure, and wall access. Then list remaining uncertainties individually.
- Wet-area framing or substrate damage
- Old plumbing that fails when disturbed
- Toilet flange and subfloor condition
- Inadequate electrical capacity or grounding
- Unvented or undersized exhaust duct
- Asbestos, lead, mold, or other regulated remediation
- Unmatchable tile, trim, or flooring transitions
Give each risk an allowance, investigation step, or written unit rate. Keep this reserve separate from elective upgrades. When a condition is exposed, require photographs, a priced change, and approval before additional work proceeds.
Coordinate the next decision with the bathroom fixture replacement cost.
Bathroom Upgrade FAQs
Which zone should be funded first?
Address active leaks, unsafe electrical conditions, failed waterproofing, structural damage, and inadequate ventilation before cosmetic upgrades. Risk reduction protects every later finish.
Can I renovate one zone and leave the rest?
Yes, if transitions, shutoffs, waterproofing boundaries, finishes, and future access are planned. Avoid trapping soon-to-be-replaced systems behind new permanent work.
How do I compare contractor allowances?
Require quantity, unit basis, tax, delivery, labor inclusion, and allowed product class. A $2,000 “tile allowance” is meaningless until everyone agrees whether it covers material only or installed area.
Should layout stay unchanged to save money?
Usually it reduces plumbing, electrical, framing, permit, and finish disruption. Change layout only when the functional gain justifies those connected costs.
When is a design professional most valuable?
Use design help when space is tight, accessibility matters, multiple trades intersect, custom details are planned, or decisions need to be documented before competitive bidding.
Final Zone-Budget Method
Select the scope tier, then subtotal the wet area, vanity, toilet, lighting–ventilation, and surfaces. Add project-wide design, permits, protection, disposal, and temporary needs. Finish with a contingency ledger tied to named unknowns. This method does more than estimate bathroom upgrade cost: it shows which zone creates value, which interface creates risk, and whether competing quotes describe the same finished room.